

All Products
-
Differential Pressure Gauge
-
Digital Pressure Gauge
-
Stainless Steel Pressure Gauge
-
Precision Pressure Transmitter
-
Programmable Logic Controller
-
Float Level Switch
-
Pneumatic Valve Positioner
-
Temperature Transmitter Sensor
-
Hart Field Communicator
-
Solenoid Valve
-
Control Valves
-
High Accuracy Flow Meter
-
Submersible Water Pump
-
Pressure Transmitter Manifold
-
Ultrasonic Level Meter
-
Voltage Current Power Meter
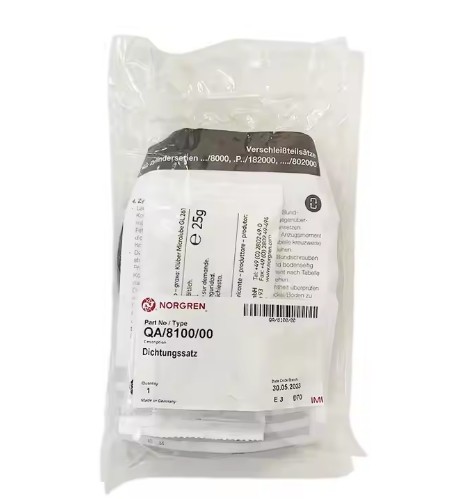
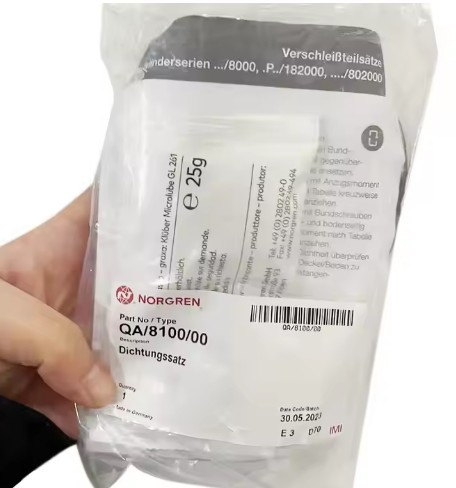
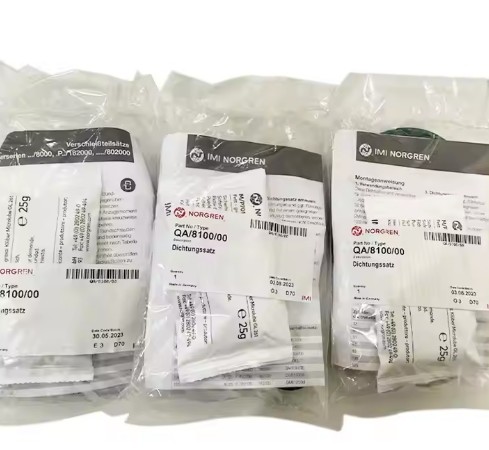
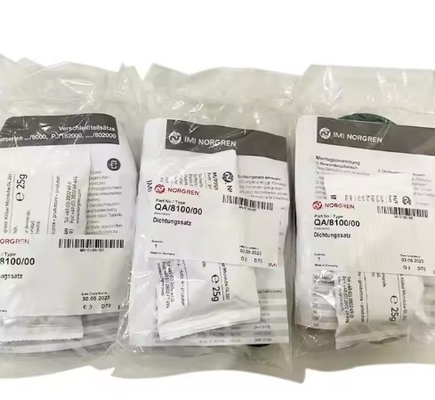
NORGREN Repair Kits Service Kits QA/8100/00 for Automation Industry


| Place of Origin | - |
|---|---|
| Brand Name | NORGREN |
| Certification | - |
| Model Number | QA/8100/00 |
| Minimum Order Quantity | 1 |
| Price | USD70/PC |
| Packaging Details | Original |
| Delivery Time | 1week |
| Payment Terms | L/C, D/A, D/P, T/T, Western Union, MoneyGram |
| Supply Ability | 1000 |
Product Details
| Weight (kg) | 0.4kg | Warranty | 1 Years |
|---|---|---|---|
| Video Outgoing-inspection | Provided | Place Of Origin | Germany |
| Model Number | QA/8100/00 | Condition | 100%New |
| Highlight | NORGREN Repair Kits,Automation Industry Repair Kits,QA/8100/00 Repair Kits |
||
Product Description
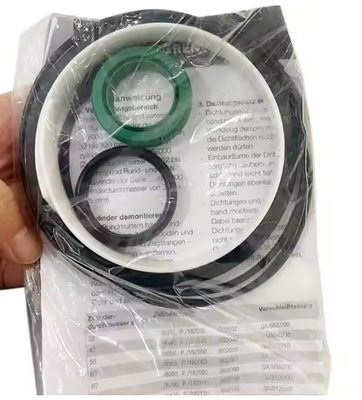
| Cylinder diameter | 100 mm |
|---|---|
| Dimensions - Height | 200 mm |
| Dimensions - Length | 2 mm |
| Dimensions - Width | 200 mm |
| Weight | 0.01 kg |
| Country of Origin | Germany |
| Brand |
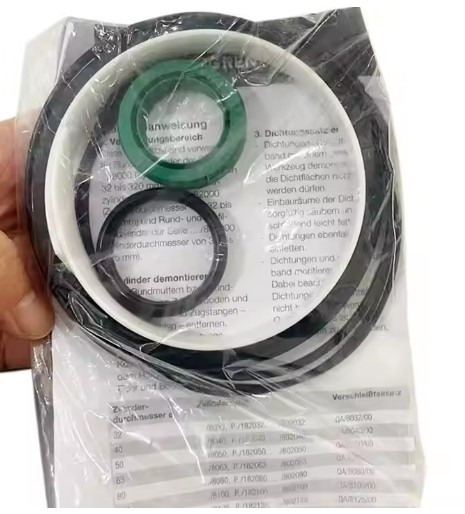
IMI Norgren re usable for round barrel cylinders of series …/8000 (with cylinder sizes from 32 to 320 mm), for profile barrel cylinders of series .P../182000 (with cylinder sizes from 32 to 125 mm) and for round and profile barrel cylinders of series …./802000 (with cylinder sizes from 32 to 125 mm). 2. Disassembly of cylinder- Loosen all tie rod nuts or tie rod screws on both sides of the cylinder and remove them as well as – if applicable – tie rods.- Remove front end cover.- Remove piston rod assembly from the barrel.- Separate barrel and rear end cover. 3. Part replacement- Disassemble all seals and – if applicable – the wear ring using suitable tools and taking care not to damage any sealing surfaces.- Thoroughly clean all installation spaces for the seals and lightly grease them afterwards.- Also all new seals have to be lightly greased.- Fit new seals and wear ring taking care not to damage seals and sealing surfaces. If necessary, a proper assembly tool has to be used. 4. Assembly of cylinder- Put a thin layer of grease on the inside surface of the barrel and on the piston rod.- Fill the grease chamber behind the piston rod seal in the front end cover and put a thin layer of grease on the running surface of the piston.- Fit the barrel to the rear end cover and rotate profile barrel into the desired orientation if applicable.- Insert piston rod assembly into barrel taking care not to damage any seals.- Slide front end cover carefully on piston rod in order not to damage the piston rod seal.- If cylinder has tie rods, screw tie rod nuts onto the short threads of the tie rods and insert them into an end cover. Put remaining tie rod nuts – if applicable – into second end cover. Tighten tie rod nuts crosswise to the specified torque.- If cylinder has tie rod screws tighten them crosswise on both end covers to the specified torque.- Check cylinder for leakage (connection front end cover/rear end cover to barrel, piston rod seal) 5. Required grease: Use only the grease from the grease package enclosed in this spare kit. A |
Recommended Products